Tiling can dramatically transform any space, adding both aesthetic appeal and functionality. However, a successful tiling project hinges on using the right techniques and, most importantly, the correct tile adhesive. Knowing “how to use tile adhesive” effectively can make the difference between a flawless finish and a costly redo. This comprehensive guide will walk you through the process, ensuring your tiles stay put for years to come.
1. Preparing the Surface: The Foundation of Success
Before you even open the tile adhesive, meticulous surface preparation is crucial.
- Cleanliness is Key: Ensure the surface is free from dust, dirt, grease, and any loose particles. Use a scraper to remove old adhesive or paint.
- Leveling and Smoothing: Uneven surfaces can lead to uneven tile placement and weak adhesion. Use leveling compounds to create a smooth, even base.
- Priming: For porous surfaces like drywall or plaster, apply a suitable primer. This enhances adhesion and prevents the substrate from absorbing moisture from the adhesive.
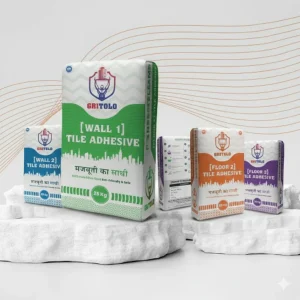
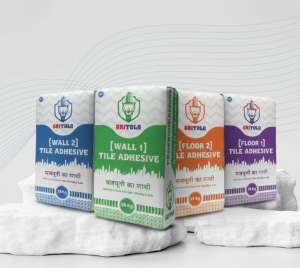
2. Choosing the Right Tile Adhesive:
Different tiles and surfaces require specific types of adhesive.
- Thin-set Mortar: A versatile option for most ceramic and porcelain tiles.
- Epoxy Adhesive: Ideal for wet areas like bathrooms and swimming pools, offering superior water resistance.
- Ready-Mixed Adhesive: Convenient for small projects, but may not be suitable for heavy tiles or demanding environments.
- Always check the tile adhesive manufacturers instruction for what tiles and substrates the adhesive is designed for.
3. Mixing the Tile Adhesive (if applicable):
If you’re using a powdered adhesive, proper mixing is essential.
- Follow the Instructions: Adhere to the manufacturer’s instructions for water-to-powder ratio.
- Mix Thoroughly: Use a mixing drill with a paddle attachment to achieve a smooth, lump-free consistency.
- Let it Slake: Allow the mixture to sit for a few minutes (slake) before mixing again. This enhances workability.
4. Applying the Tile Adhesive:
- Use a Notched Trowel: The notch size determines the adhesive bed thickness. Choose the appropriate trowel based on the tile size and type.
- Apply Evenly: Spread the adhesive evenly over a small area, creating ridges with the notched trowel.
- Don’t Over-Apply: Applying too much adhesive can lead to tiles sinking or slipping.
5. Setting the Tiles:
- Press Firmly: Press the tiles firmly into the adhesive, using a slight twisting motion.
- Use Tile Spacers: Maintain consistent grout lines using tile spacers.
- Check for Level: Regularly check the tile surface with a level to ensure even placement.
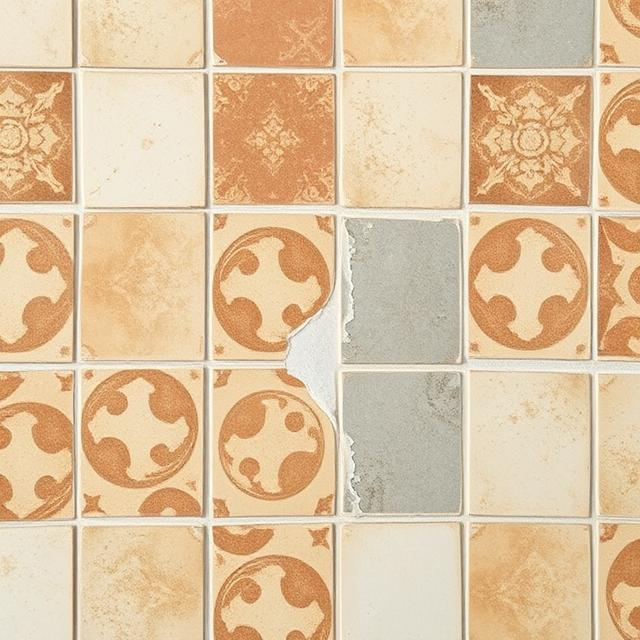
- Clean Excess Adhesive: Immediately wipe away excess adhesive from the tile surface with a damp sponge.
6. Grouting:
- Allow Adhesive to Cure: Let the adhesive cure for the recommended time (usually 24-48 hours) before grouting.
- Apply Grout: Spread the grout evenly over the tile surface, filling the grout lines.
- Clean and Smooth: Remove excess grout with a damp sponge, shaping and smoothing the grout lines.
- Final Cleaning: Once the grout has dried, clean the tiles with a grout haze remover.
7. Curing and Sealing (if applicable):
- allow the grout to cure according to the manufacturer’s instruction.
- Seal the grout, if needed, to protect from water and stains.
Tips for Success:
- Work in small sections to prevent the adhesive from drying too quickly.
- Use the correct tools for the job.
- Always follow the manufacturer’s instructions.
- Practice on a small, inconspicuous area before tackling the main project.
By following these steps, you can confidently use tile adhesive and achieve a professional-looking tile installation.