Concrete floors are known for their durability and versatility, making them a popular choice for various applications, from industrial warehouses to residential garages. However, even concrete can benefit from added protection and enhanced strength. That’s where floor hardeners come in. Floor hardeners significantly improve the surface’s resistance to abrasion, impact, and chemical exposure, extending its lifespan and reducing maintenance costs. This guide will walk you through the process of applying floor hardener to concrete, ensuring a professional and long-lasting finish.
What is Floor Hardener?
Floor hardener is a specialized compound applied to concrete surfaces to increase their hardness and durability. It typically comes in powder or liquid form and reacts with the concrete to create a denser, more resistant surface. Different types of hardeners are available, each with specific properties and applications. Common types include:
- Dry-shake hardeners: These are applied as a dry powder to freshly poured concrete.
- Liquid hardeners: These are sprayed or brushed onto the concrete surface after it has cured.
Choosing the Right Floor Hardener:
The best floor hardener for your project depends on several factors, including the type of concrete, the intended use of the floor, and the desired level of protection. Consider these factors:
- Type of concrete: Different hardeners are formulated for specific concrete mixes.
- Traffic volume: Areas with high foot or vehicular traffic require more robust hardeners.
- Chemical exposure: If the floor will be exposed to chemicals, choose a hardener with chemical resistance.
- Aesthetics: Some hardeners can also enhance the appearance of the concrete.
Step-by-Step Application Guide (Dry-Shake Hardener):
This guide focuses on applying a dry-shake hardener, the most common type for new concrete pours.
-
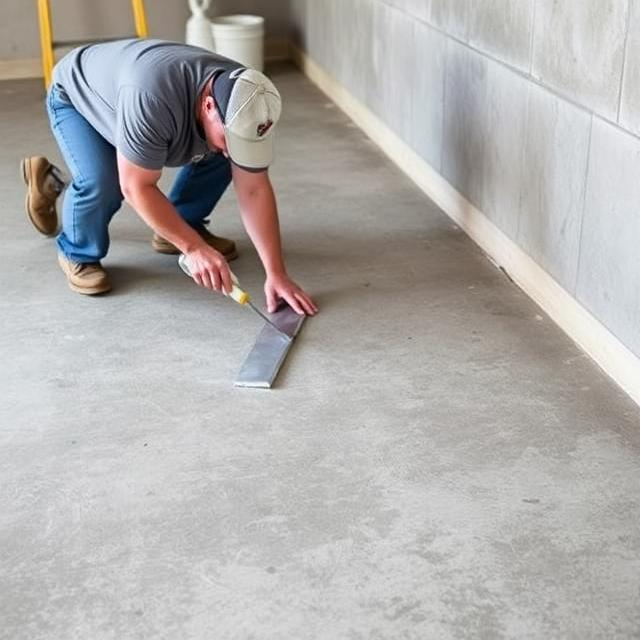
Prepare the Concrete Surface: Ensure the concrete is freshly poured and leveled. Allow the concrete to reach the “plastic” stage, where it can be slightly indented but is still workable. This is crucial for proper bonding of the hardener.
-
First Application: Using a mechanical spreader or by hand, evenly distribute approximately two-thirds of the recommended amount of dry-shake hardener over the concrete surface.
-
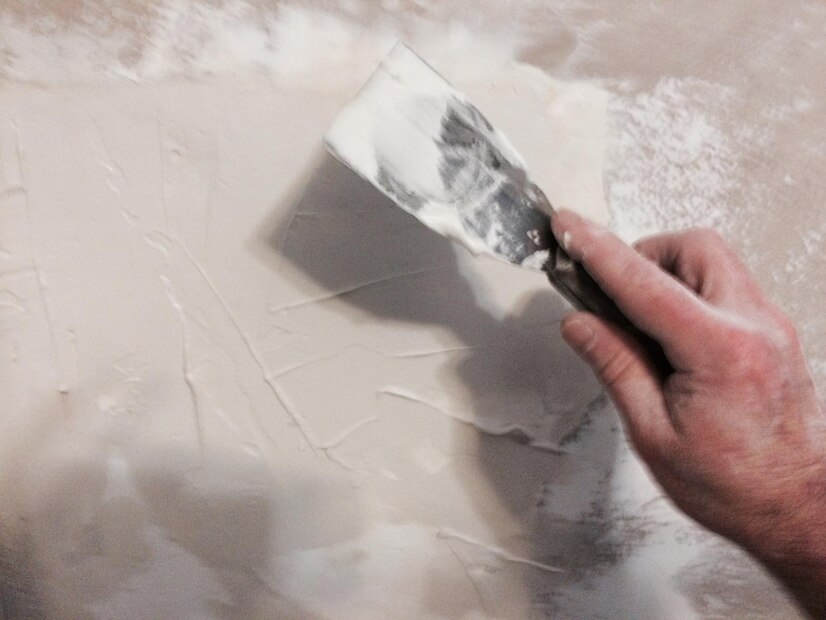
Floating: Use a bull float or a power trowel with float blades to work the hardener into the concrete surface. The hardener should become saturated with the moisture from the concrete.
-
Second Application: Once the surface has been floated, apply the remaining one-third of the hardener. Again, distribute it evenly.
-
Floating (Repeat): Float the surface again to incorporate the second application of hardener.
-
Troweling: Once the concrete has hardened sufficiently, use a power trowel with finish blades to smooth and compact the surface. This will create a hard, dense finish. Multiple passes with the trowel may be necessary.
-
Curing: Proper curing is essential for the floor hardener to achieve its full strength. Keep the concrete surface moist for the recommended curing period (typically 7-14 days). This can be done by covering the surface with plastic sheeting or using a curing compound.
Important Considerations:
- Safety: Always wear appropriate personal protective equipment (PPE), including gloves, a mask, and eye protection, when working with floor hardeners.
- Manufacturer’s Instructions: Carefully read and follow the manufacturer’s instructions for the specific floor hardener you are using. These instructions will provide detailed information on application rates, drying times, and other important considerations.
- Weather Conditions: Avoid applying floor hardener in extreme temperatures or during rain.
- Experience: Applying floor hardener requires some skill and experience. If you are unsure about the process, it is best to hire a professional contractor.
Benefits of Using Floor Hardener:
- Increased Durability: Hardened concrete surfaces are more resistant to abrasion, impact, and wear.
- Extended Lifespan: By protecting the concrete, floor hardeners can significantly extend its lifespan.
- Reduced Maintenance: Hardened floors are easier to clean and require less maintenance.
- Improved Appearance: Some hardeners can enhance the appearance of the concrete, adding color or texture.
- Cost-Effective: While there is an upfront cost for the hardener, it can save money in the long run by reducing maintenance and repair costs.
By following these steps and considering the important factors, you can effectively use floor hardener to create a durable, long-lasting, and beautiful concrete floor. Remember to always consult the manufacturer’s instructions for the specific product you are using.